Showing posts with label printmaking. Show all posts

Sunday, December 1, 2013

Southern Gravures

Chapel of Ease plate, it hasn't survived all that well

You may or may not know that I lived for a couple of years in Savannah, GA, when I first began my BFA. It turned out that the south was just not my cup of tea but I did have some amazing experiences there. 
My most common photographic subjects while I lived there were the numerous church ruins that could be found just over the border in South Carolina. The other night I had a dream that I was back there photographing. Strange, I know, but I just couldn't resist doing a little throw back and posting some images I took there. After moving to San Francisco, I turned the original large format negatives into photogravures (a long, complicated process that results in copper negatives that are printed on an etching press).

The Chapel of Ease was one of the easiest places to get to, being right off a main road. 

Old Sheldon Church was a little harder to find but possibly my preferred spot to explore and photograph. The church grounds are rather marshy and the ruins are surrounded by trees that make the entrance somewhat dark and gloomy. The ruins themselves are on a bit of a hill and in full sunlight, on a good day. You are so taken by this as you walk up, that you don't notice the strangeness of the trees, until you turn around to leave...

At some point in the past, the holes in the trees were bricked up. I am sure there is some innocent reasoning behind this but I always found them a little spooky, considering the ruins and graves nearby. 

Saturday, February 9, 2013

Carving Again


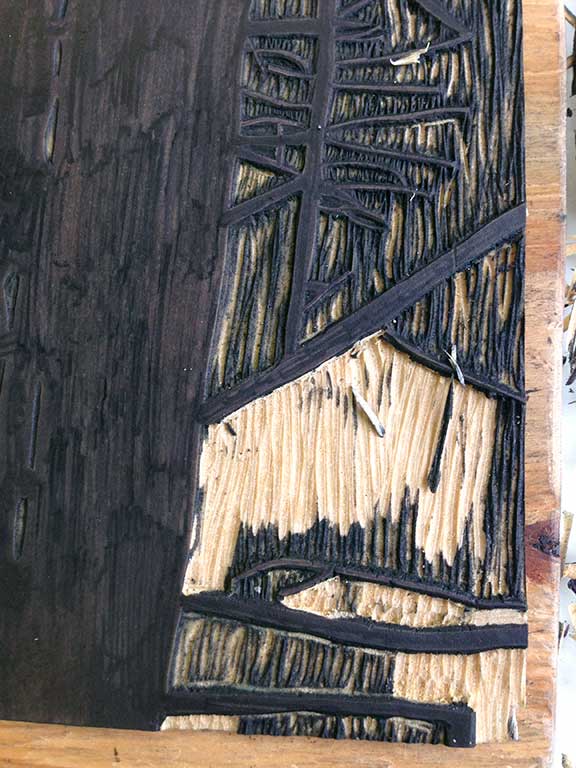
Classes have started back up at City College and that means my Saturdays are once again full of printmaking and lino carving; it's wonderful! As usual, I'm carving trees, though this year is proving to be quite different from previous years. My new Flexcut carving tools mean I can carve more quickly and cleanly, leading to more graphic images. I'm trying to figure out how this fits into the rest of the series. Who knows, I may just have to start doing multi-block carvings...


Saturday, January 21, 2012

Back to Lino

Classes have started up again, which means I'm spending my Saturdays in the printmaking studio at Fort Mason. I've been drawn to linoleum carving for a while so that is what I want to focus on this semester. 

 Given that my drawing skills aren't phenomenal, I've decided to try a new technique, tracing my photographs. This is the source photo for the linoleum block I was carving today.

The tracing, reversed and inked in with Sharpie on the lino block. Let me just say, those bricks are none to easy to carve out. After 6 hours hunched over the table, carving, I'm still not quite finished.

It was a very windy and somewhat rainy day today in San Francisco. I'm glad I got to work next to the radiator.

Sunday, November 6, 2011

Lino Printing At Home

I'm ready to print!

In case I haven't said it before, I really love printmaking. I find the physicality involved in so many aspects of making a print really rewarding. The only problem is I don't have a press at home and I love making things at home. 

laying out the paper

I've been doing printmaking off and on for years, but I decided I wanted to hone my knowledge so I'm taking an introductory level printmaking course at City College of San Francisco. While my sketches are amateur, I'm loving it and yesterday we went over lino carving. Being mainly a letterpress printer, I have a particular fondness for relief printing, plus, you can carve lino blocks and print them by hand at home.

pressing the plate

I decided I just had to try it today. So, after I finished studying for my French test, I set to work carving a 4x6 inch block based on a photo I had taken of my birthday cake. After about two hours of carving (hey, I'm new at this) I had a block that was ready to print. 


Luckily, I had some water soluble (aka super easy to clean) block printing ink at home from a previous lino carving endeavour (which ended when I put a carving tool through my finger), and one of those bamboo covered pads similar to what they use in traditional Japanese block printing. 

3 semi-successful test prints

I quickly realized that humans are not presses, getting good, even pressure is not easy. After 3 partially successful prints on thicker paper stock, I switched to the trusty, text weight Mohawk Superfine and finally got a good print.

yay, a good print!

While my drawing skills may still need some more work, I have to say, I am thrilled with this new process and quite proud of my work!

ink roller and plate


Tuesday, November 1, 2011

An Adventure in Screenprinting

Film outline

I have wanted to learn screenprinting for almost ever and a few months back the Studio Manager at Mission Grafica invited me over to learn.


This past Thursday I finally made it over for my first lesson and had an amazing time. First, I outlined my drawing, then cut ruby lith for inside the outlines. 

Outline exposed on screen

After spreading emulsion, burning, rinsing and drying, it was time for the actual printing.

A print!

My drawing skills are by no means sophisticated but I think they translate pretty well in this medium.


Sunday, August 28, 2011

Big Top Etching

Big Top etched plate

I first learned, and fell in love with, etching in the summer of 2004. Being a photo major in college, I didn't have time to do much etching (besides photogravure) over the past 7 years. 
Etching tools and unworked zinc plate

I decided to take an intaglio course at City College of San Francisco this semester and after only two classes, I am once again in love with the process.

First round Big Top print

My choice of subject matter came from a thought I had at work one day: If I had a circus, what would it look like?

Second round Big Top print

Admittedly, I'm not the most skilled at drawing and lately I have been doing whimsical drawings in a more simplistic style. I thought this would work great with my chosen subject matter.

Third round Big Top print

It took three rounds of reworking the plate, each time adding more texture, shading and grass to get the print above, which I'm quite happy with. I'm hoping to have enough time to make one or two more circus related plates before we move on to the next project and next semester I'd like to make a portfolio of my version of the circus.