Showing posts with label linoleum. Show all posts
Saturday, February 9, 2013
Carving Again
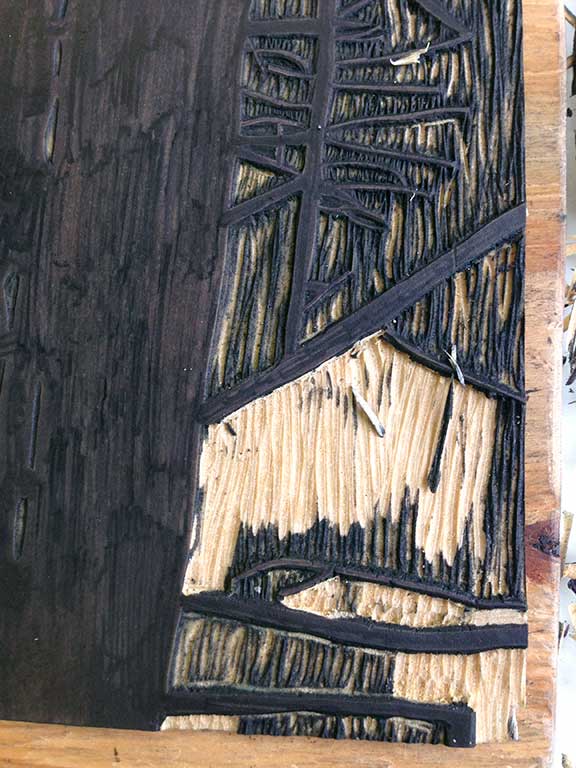
Classes have started back up at City College and that means my Saturdays are once again full of printmaking and lino carving; it's wonderful! As usual, I'm carving trees, though this year is proving to be quite different from previous years. My new Flexcut carving tools mean I can carve more quickly and cleanly, leading to more graphic images. I'm trying to figure out how this fits into the rest of the series. Who knows, I may just have to start doing multi-block carvings...
Labels:
City College,
Fort Mason,
fun,
linoleum,
linoleum carving,
linoleum printing,
printmaking,
Saturday
Friday, May 11, 2012
Linoleum Preparation
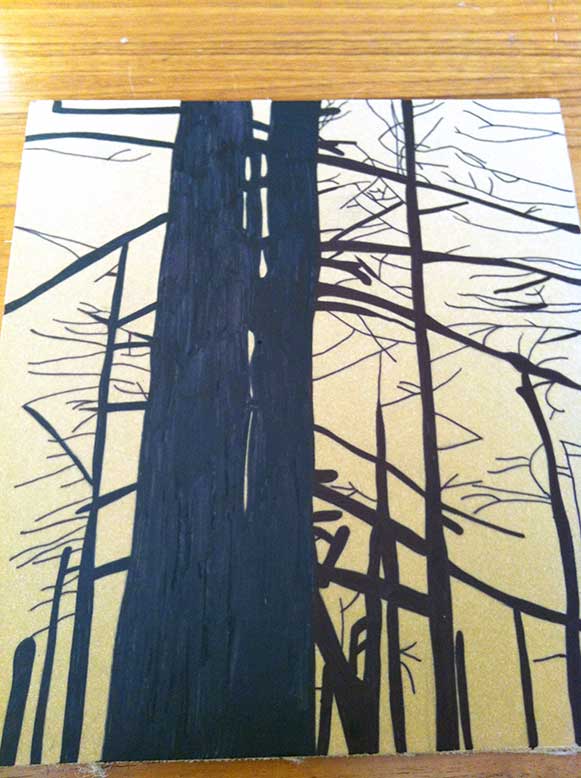
Prepping my image on linoleum with pencil and Sharpie
After a week filled with bookmaking, last Saturday I took a break from books to prep a linoleum block for carving.
As usual, I started by tracing one of my photographs. The body of work that is currently in progress focuses on trees. This image in particular was taken in the forest in Ashland, Oregon.
After the tracing was complete, I used carbon paper to transfer the outlines of the tracing onto a blank linoleum block, in reverse.
To give myself a rough idea of what the image will look like once it's carved, I fill in any sections not meant to be carved away with Sharpie.
My block is ready to go and I'll begin carving this weekend.
Saturday, January 21, 2012
Back to Lino
Classes have started up again, which means I'm spending my Saturdays in the printmaking studio at Fort Mason. I've been drawn to linoleum carving for a while so that is what I want to focus on this semester.
Given that my drawing skills aren't phenomenal, I've decided to try a new technique, tracing my photographs. This is the source photo for the linoleum block I was carving today.
The tracing, reversed and inked in with Sharpie on the lino block. Let me just say, those bricks are none to easy to carve out. After 6 hours hunched over the table, carving, I'm still not quite finished.
It was a very windy and somewhat rainy day today in San Francisco. I'm glad I got to work next to the radiator.
Given that my drawing skills aren't phenomenal, I've decided to try a new technique, tracing my photographs. This is the source photo for the linoleum block I was carving today.
The tracing, reversed and inked in with Sharpie on the lino block. Let me just say, those bricks are none to easy to carve out. After 6 hours hunched over the table, carving, I'm still not quite finished.
It was a very windy and somewhat rainy day today in San Francisco. I'm glad I got to work next to the radiator.
Sunday, November 6, 2011
Lino Printing At Home
I'm ready to print!
In case I haven't said it before, I really love printmaking. I find the physicality involved in so many aspects of making a print really rewarding. The only problem is I don't have a press at home and I love making things at home.
laying out the paper
I've been doing printmaking off and on for years, but I decided I wanted to hone my knowledge so I'm taking an introductory level printmaking course at City College of San Francisco. While my sketches are amateur, I'm loving it and yesterday we went over lino carving. Being mainly a letterpress printer, I have a particular fondness for relief printing, plus, you can carve lino blocks and print them by hand at home.
pressing the plate
I decided I just had to try it today. So, after I finished studying for my French test, I set to work carving a 4x6 inch block based on a photo I had taken of my birthday cake. After about two hours of carving (hey, I'm new at this) I had a block that was ready to print.
Luckily, I had some water soluble (aka super easy to clean) block printing ink at home from a previous lino carving endeavour (which ended when I put a carving tool through my finger), and one of those bamboo covered pads similar to what they use in traditional Japanese block printing.
3 semi-successful test prints
I quickly realized that humans are not presses, getting good, even pressure is not easy. After 3 partially successful prints on thicker paper stock, I switched to the trusty, text weight Mohawk Superfine and finally got a good print.
yay, a good print!
While my drawing skills may still need some more work, I have to say, I am thrilled with this new process and quite proud of my work!
ink roller and plate
Subscribe to:
Posts (Atom)