Showing posts with label bookmaking. Show all posts

Saturday, January 17, 2015

A Bookish Update


I know, I know, it's been a terribly long time since there has been anything new up on this blog. Apologies! Among other things, I was changing jobs, trying to get a promotion (which worked!), focusing on expanding my teaching, and just making lots and lots of things. I am now in the process of (slowly) editing the photos of many of those things I made and did and found so expect more frequent posts. This first one is just a quick collection of a few of the books that I made in the past year.   

Exposed-spine French linkstitch journal sewn on tapes with covers made from upcycled panels of an Angry Orchard 6-pack container. {Now on my website}

A few handmade journals for a client, wrapped up and ready to be delivered. 

 Three cased-in, flat backed, sewn on tapes, blank journals. Half bound with book cloth and patterned handmade paper. {Now on my website}

Exposed French linkstitch sewing in progress 

Exposed-spine French linkstitch journal with tipped on hard covers. Mock half bound with book cloth and marbled paper. 

Exposed-spine French linkstitch journal with tipped on hard covers wrapped in patterned handmade paper. {Now on my website} 

 
Exposed-spine French linkstitch journals with patterned card stock covers. 

 Perfect bound notepads from offcuts of larger projects. Decorated with giraffe embossing. 

Exposed-spine French linkstitch journal with patterned card stock covers.  

Exposed-spine French linkstitch journal with tipped on hard covers wrapped in patterned paper. {Now on my website} 

Exposed-spine French linkstitch journal with patterned card stock covers.  {Now on my website}

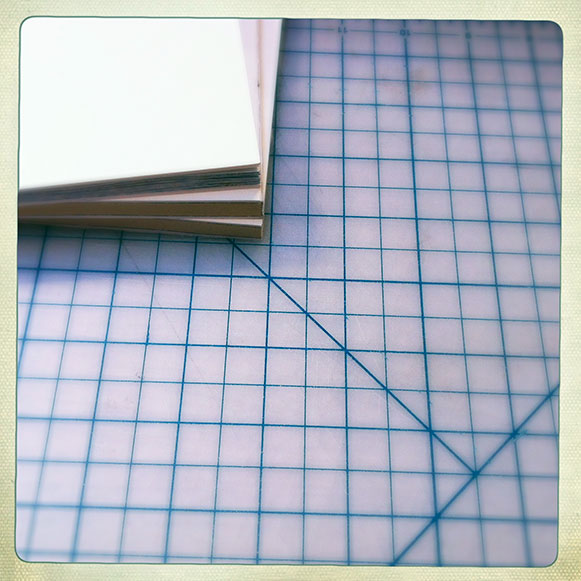
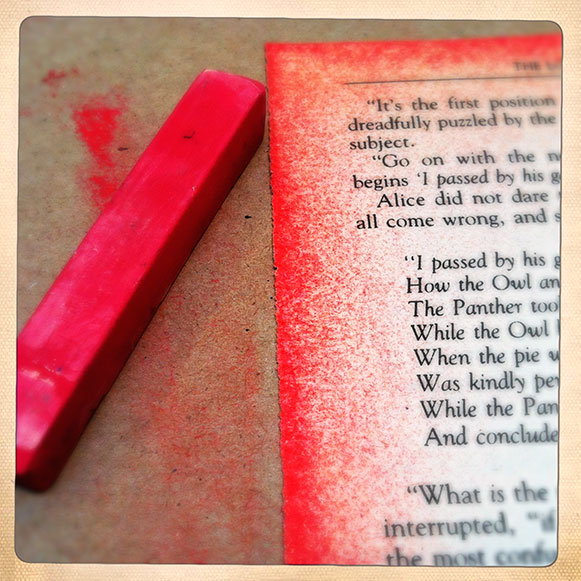
Materials for laminating upcycled 6-pack container packaging. 

Exposed-spine French linkstitch journal sewn on tapes with covers made from panels of an Angry Orchard 6-pack container. 


Sunday, May 5, 2013

P is for Pinwheel

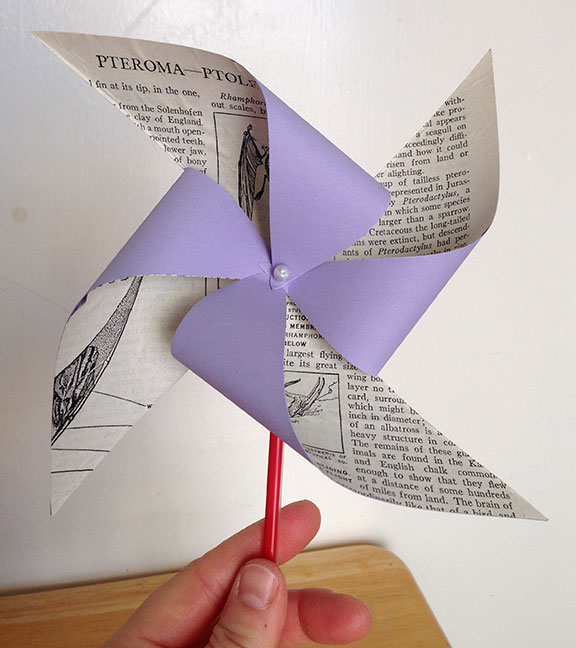
Besides teaching and working, I've also spent the past couple of weeks working on a new product/project that I'm calling P is for Pinwheel.

Inspired by the Altered Book show at the Marin MOCAKayte Terry, and the idea of how books are read and interpreted, I decided to put a letter P encyclopedia, found at a San Francisco Public Library book sale, to use.


I cut down pages from the encyclopedia and pasted them on solid color paper, did some folding and measuring, and cut them just so, so that they could be twisted and pinned into a pinwheel shape.


The finished paper wheel was stuck to a straw for a lovely twist on an old favorite. These are a bit more fragile and don't spin as freely as your standard pinwheel but I think they're more fun and informative.

Some of you may be wondering how a book lover such as myself could sacrifice a book in this way. Let me explain. This particular reference tome had been orphaned. This means it was separated from the rest of the set it came from and, not being a first edition or otherwise rare or antique, it had no historic value. Having lost its brethren, it had little to no value for resale and would have been destined for the trash or a creative reuse center had I not purchased it. I enjoyed being able to give it new life and look forward to sharing the pinwheels with others to see how they interpret this book in its new form.


If you're interested in having an encyclopedia pinwheel of your very own, I'll be selling them at my booth (neon sprinkles studio) at Patchwork Oakland on May 12 (Mother's Day).

Saturday, May 4, 2013

Lately

Things have been quiet on the blog because I've been quite busy in the real world. 


At the end of April I taught a session of Introduction to Bookbinding at the San Francisco Center for the Book. I say this after every class but, April's workshop was the best one yet! One of the things I really enjoy about teaching bookmaking is that it's such a universal object form that everyone can understand (even the e-reader folks). In this particular workshop I had the pleasure to teach bankers, lawyers, art students, and even a database manager!


A few days after the workshop I was back at the San Francisco Center for the Book for an evening of simple bookmaking demos at the grand (re)opening (a big open house celebrating the move to a bigger and better building). 


I spent the night teaching visitors how to make maze, or meander, books. These are fun, simple structures made out of a single sheet of paper. I like them because they can open in any direction and have all these secret little spots to discover and they can also be flattened to view a single image all at once, instead of page by page (like this one, made out of a photocopied map of Michigan). 


Just some of the happy folks with their aMAZEing books!

Not sure if I remembered to mention it but, on Mother's Day, I will be a vendor at Patchwork Oakland! It will be the first time I have an entire booth space to myself and I couldn't be more excited. I've made some new products for the show (just wait until tomorrow's post) and Charlie even built me a folding wall to ramp up my display.


I've been working hard to get the word out about the show (I hope you'll stop by!) and one way I decided to invite folks was by seinding out customized event postcards. 


With scrap paper, washi tape, scissors, a hole punch, and some kitchen twine to tie it all together (craft pun alert!) I made these fun little invites. I have a few left over, if you'd like one of your very own, let me know!

Tuesday, January 22, 2013

A Paper Daybook


I decided to get the long weekend started out right, with a bookmaking workshop. Our fearless leader was none other than Juliayn Coleman of Book Island Bindery and my classmates included Kate, a friend from my binding certificate program, and Courtney Cerruti of Paper Musings. What was the class, you ask? Upcycled Daybook, of course. 
The task before us at the beginning of the day was to disbind a book, add new pages, including calendar pages, and then rebind the pages using the original front and back cover into a daybook for 2013. Challenging but also oh so much fun!


Our books were childrens' books. Mine was a biology book called Your Wonderful Body.


The old pages were mixed with pages from other unbound books, and also National Geographic pages. I, of course, chose the dinosaur ones.


We punched new holes and, since these books were going to have spines thicker than the originals, we sewed on tapes for extra support. I got a little excited about all the pages I could include and ended up with 19 signatures! I was really glad to sew on tapes.


To make the cover, we cut into the old front and back cover boards so that the spine cloth could be tucked inside and create a smooth transition from old cover parts to the new ones.


Then we cased in and had our daybooks! Now, I admit, I use my iPhone calendar all the time, at work I'm addicted to GoogleCal, and my daybook is pretty large and a bit unwieldy to be carrying around all the time. Still, after the first 2 days of living with it, I'm enchanted. I'm still in the process of adding all the dates, but it's nice to be writing by hand. I have a really busy spring and, aside from appointments, I've added my to-do list for the past two days and it lowered my stress to see everything in a list and to be able to cross things off, in the 'real world'. So all you digital crazed folks, go get yourself a daybook, or, better yet, make one.

Sunday, November 4, 2012

Bookmaking with Karen Hanmer

Three book blocks, waiting to be finished

Last weekend I was lucky enough to take two bookmaking workshops with book artist Karen Hanmer, who was visiting the San Francisco Center for the Book from Chicago. Not only is Karen a great instructor and book artist, she's also funny and loves Star Trek and who doesn't love someone that can compare binding to Star Trek?

Drum leaf binding
Link stitch binding with sewn on boards

In the first workshop we made three books: a drum leaf binding, which requires no sewing, and two link stitched books with sewn boards. We also got to learn and experiment with edge decorating.


In the second workshop we learned the pyramid book structure, which is just amazing. It can be viewed page by page like a 'normal' book, or flat (it's double sided), or it can be stood up in a number of different ways to be viewed in a more sculptural manner. 

A pyramid book starts with a triangle


After my practice book, I decided to make a pyramid book out of wrapping paper with skeletons on one side and a map of the world on the other. I didn't cut all my paper at the right angle so the pages on this book don't line up perfectly but, it's just the first one of many pyramid books I'll be making in the future.

Tuesday, August 28, 2012

Making Summary


I had to make a last minute trip back to Connecticut earlier this month and so I haven't been able to blog for a while. Before I left, I took 2 classes on bookmaking. Here's a brief summary of what I did.


First, I took a short course from Jennie Hinchcliff of Red Letter Day Zine on basic bookmaking, so I could brush up on my zine making skills. 


There was shredded money, Michigan map and bingo card paper, so we broke out the stamps and made some single sheet books.


Next, I took an altered board books class with Courtney Cerruti. We started out with regular old children's board books and, with the handy help of gesso, acrylic paint, rubber stamps, washi tape, words and glue, turned them into books of our own creation.